Physical Project
Arcade Cabinet
A two-player tabletop arcade control panel running LaunchBox/BigBox on a small-form-factor PC, wired up with an Ultimarc I-PAC Ultimate I/O board, Ultimarc joysticks, buttons, a spinner, and a trackball.
Overview
What the cabinet is
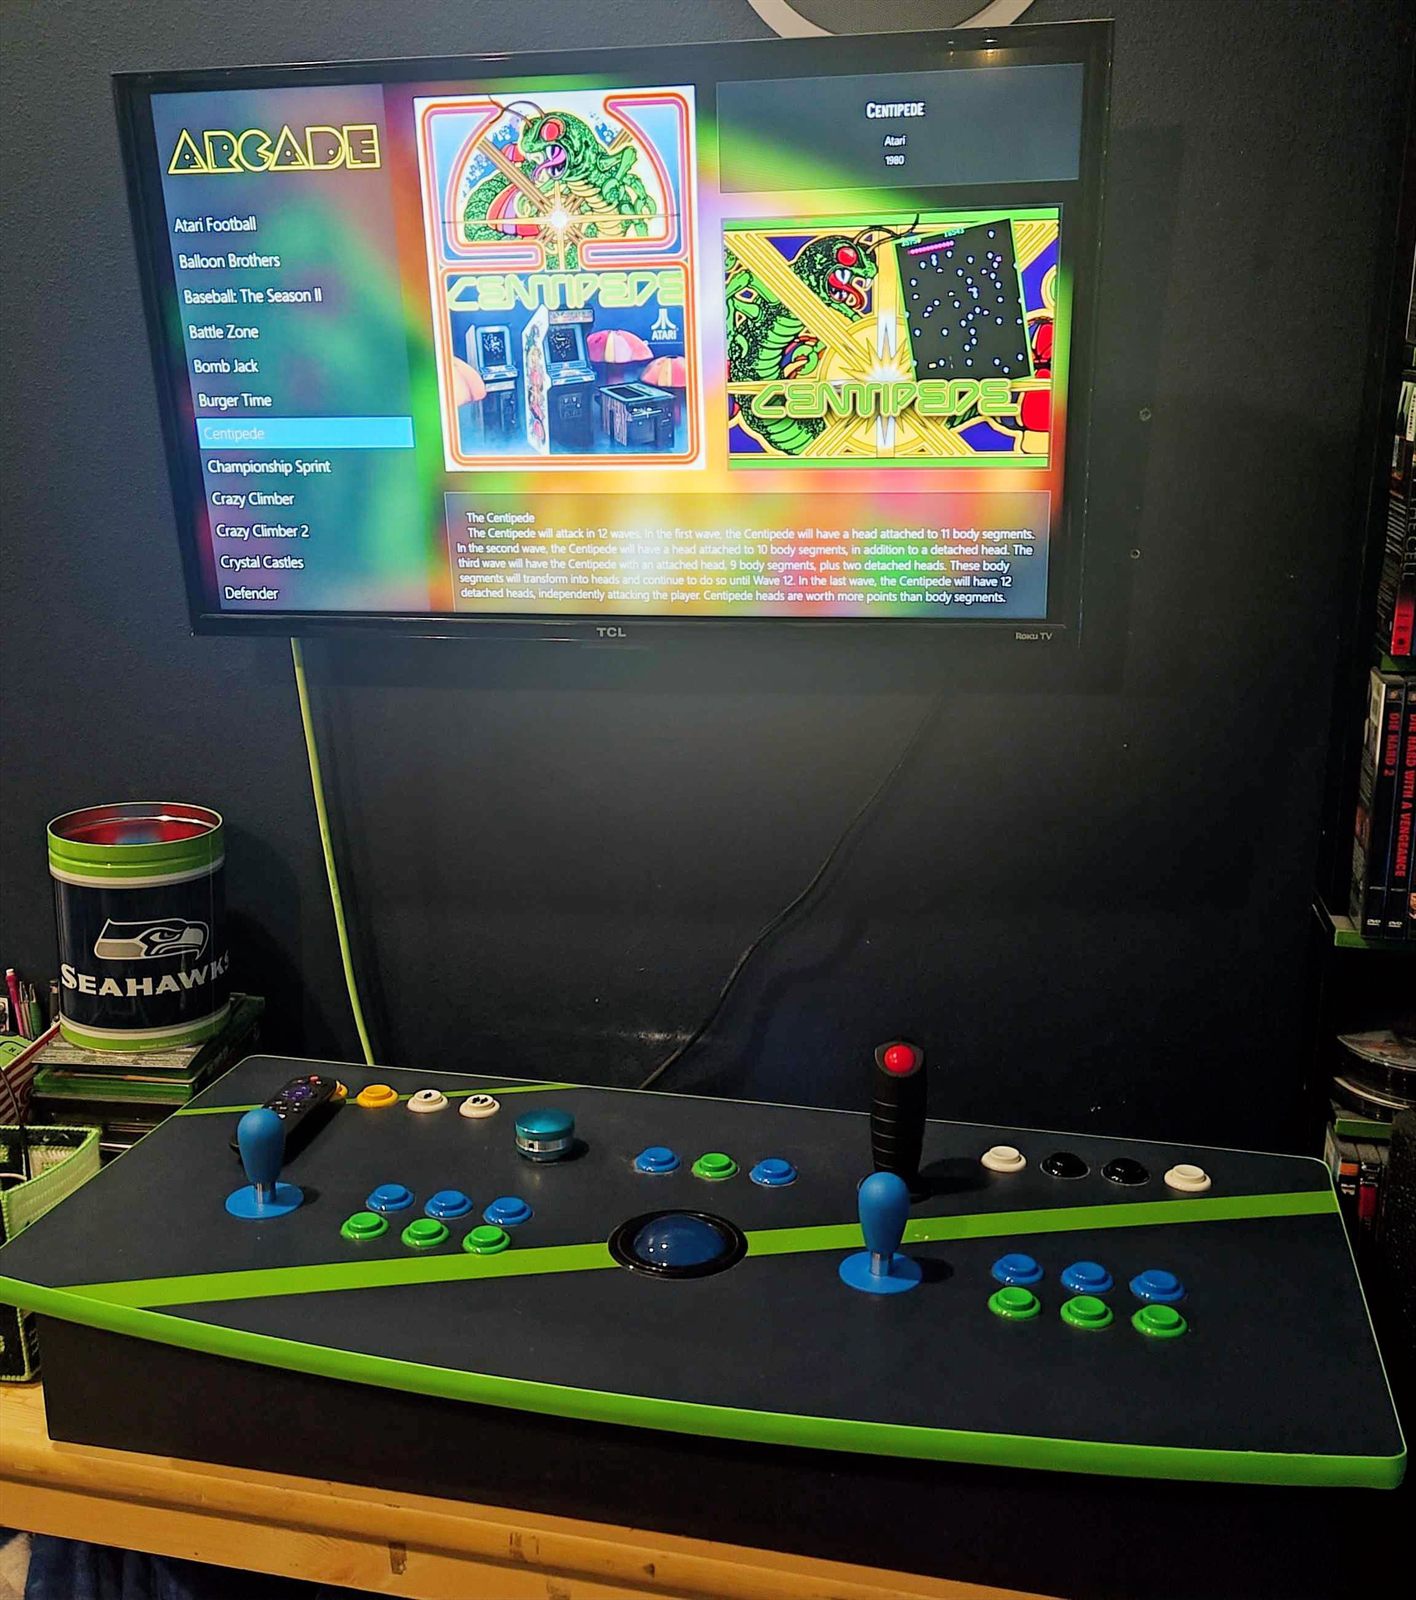
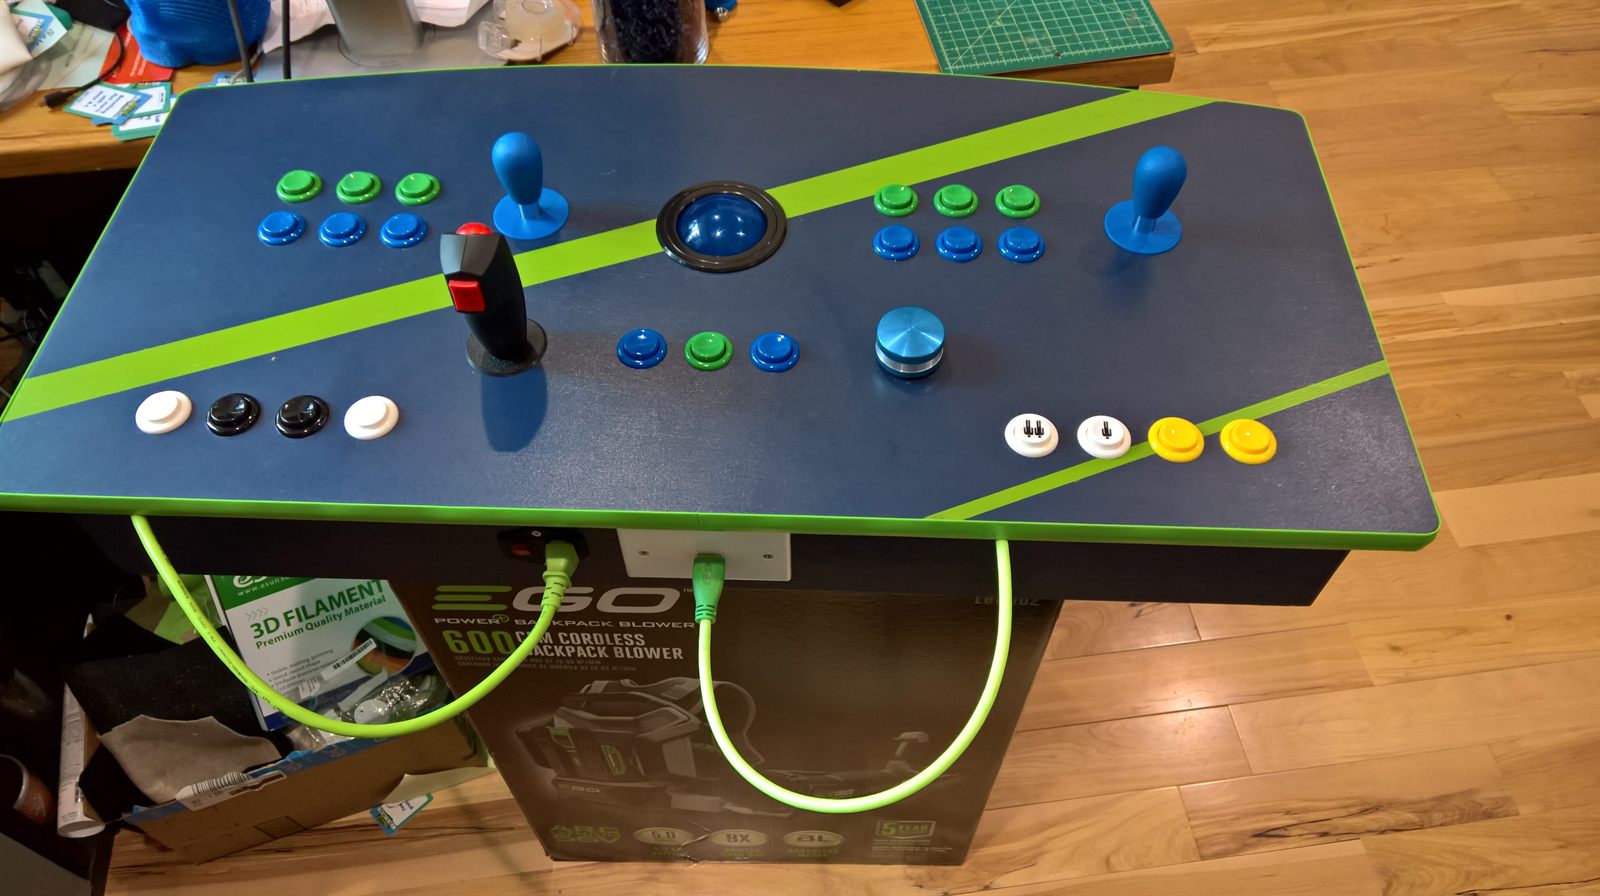
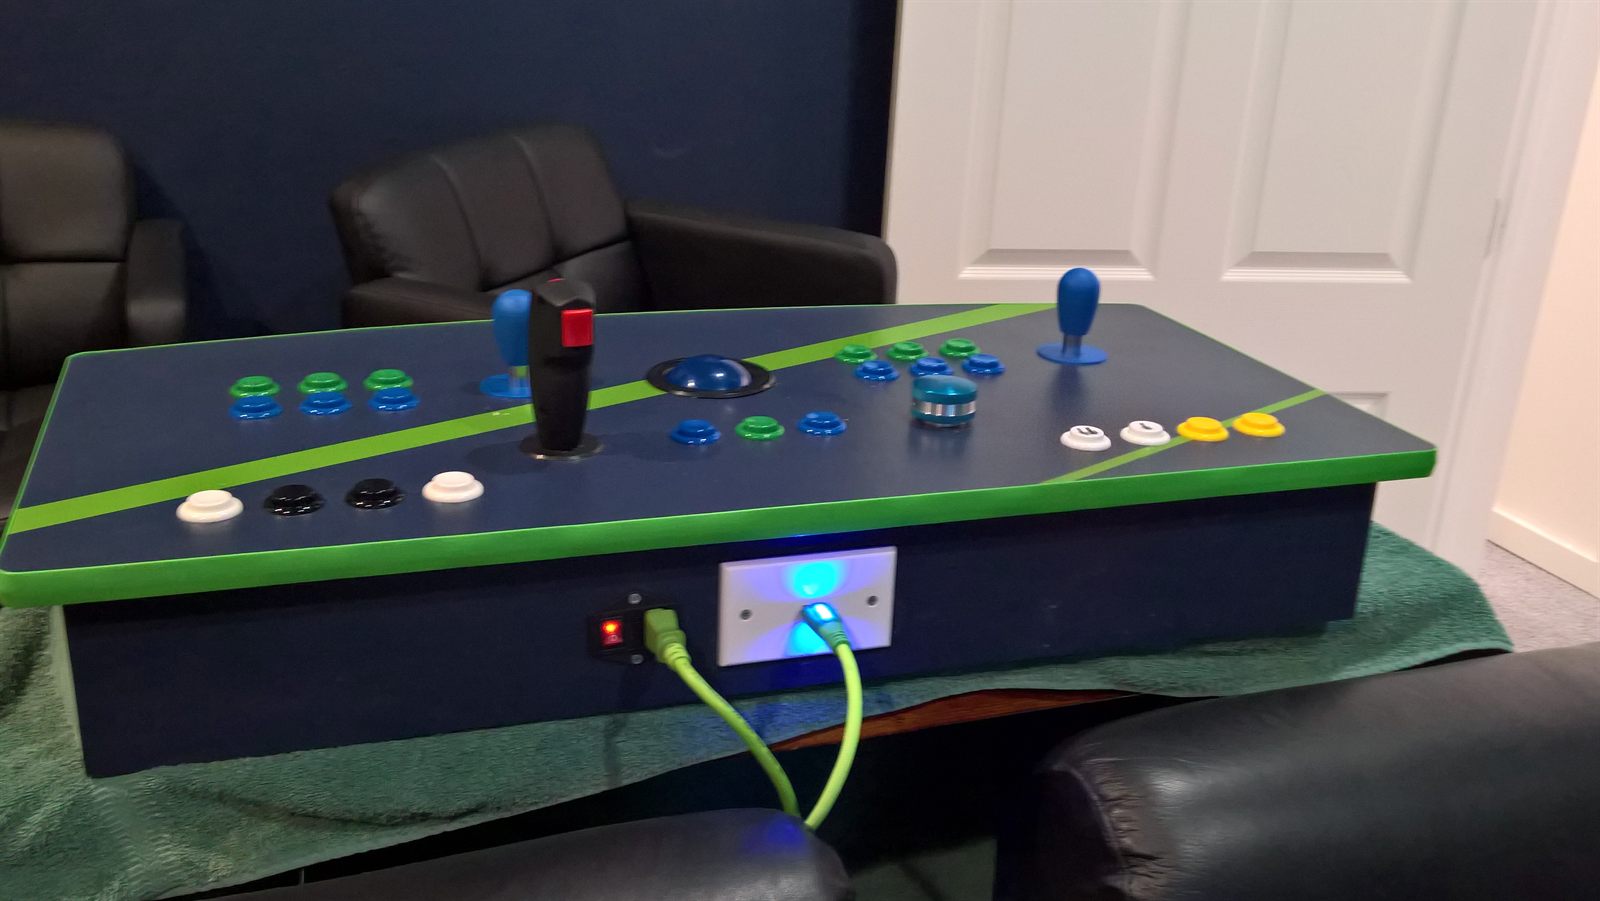
This is a two-player tabletop arcade control panel built from a Monster Arcades cabinet kit on Etsy, finished in navy with diagonal lime-green stripes and matching T-molding. It runs LaunchBox/BigBox on a small-form-factor PC tucked into the back of the box, with everything routed through an Ultimarc I-PAC Ultimate I/O board for keyboard, gamepad, trackball, and spinner inputs.
The layout is symmetrical for two-player games: joystick and six action buttons per side, four admin buttons in front of each joystick, plus a shared trackball and spinner in the center with coin, start, pause, and exit buttons across the top.
Parts
Main parts and hardware
Computer And Software
- Small-form-factor PC (currently a PELADN Ryzen 5 5600H mini PC) mounted inside the cabinet
- LaunchBox with BigBox as the front end for MAME and other emulators
- Wireless keyboard and HDMI cable stored inside the cabinet for setup and admin
Controls And I/O
- Ultimarc I-PAC Ultimate I/O controller board
- Ultimarc joysticks (one per player)
- Ultimarc buttons for the two six-button clusters and admin row
- Ultimarc spinner
- Ultimarc trackball
Cabinet And Finish
- Two-player arcade control panel kit from Monster Arcades on Etsy
- Bright green 3/4-inch T-molding around the panel edge
- Navy paint with diagonal lime-green accent stripes
- Inset power inlet, lit rocker switch, and HDMI/Ethernet pass-through on the back
Panel And Drilling
Starting with a drilled, painted panel
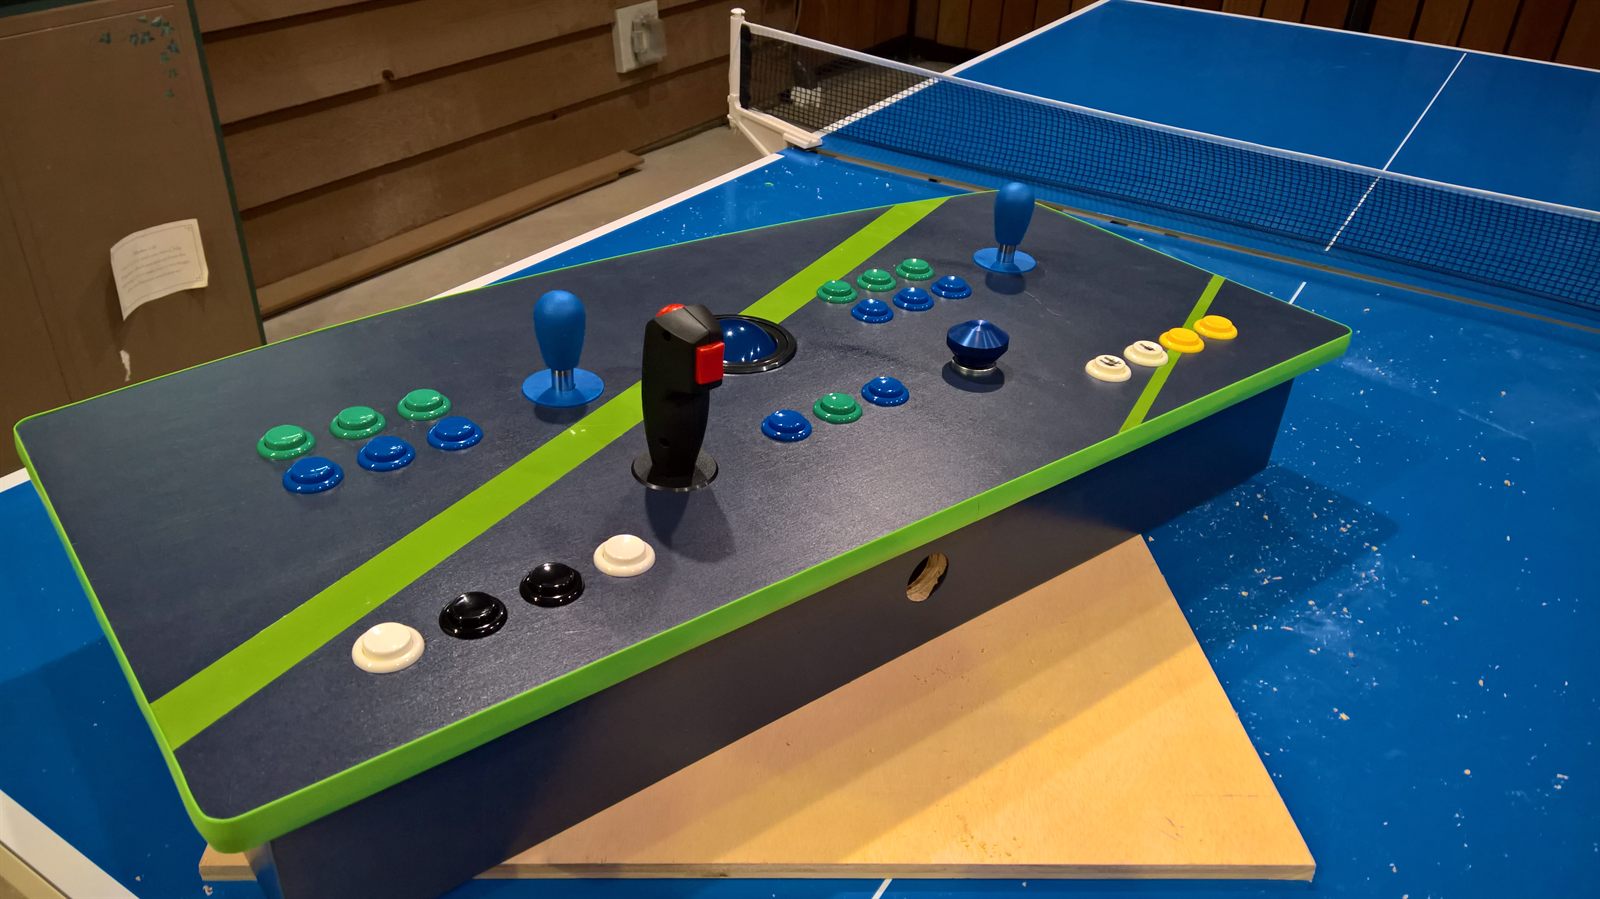
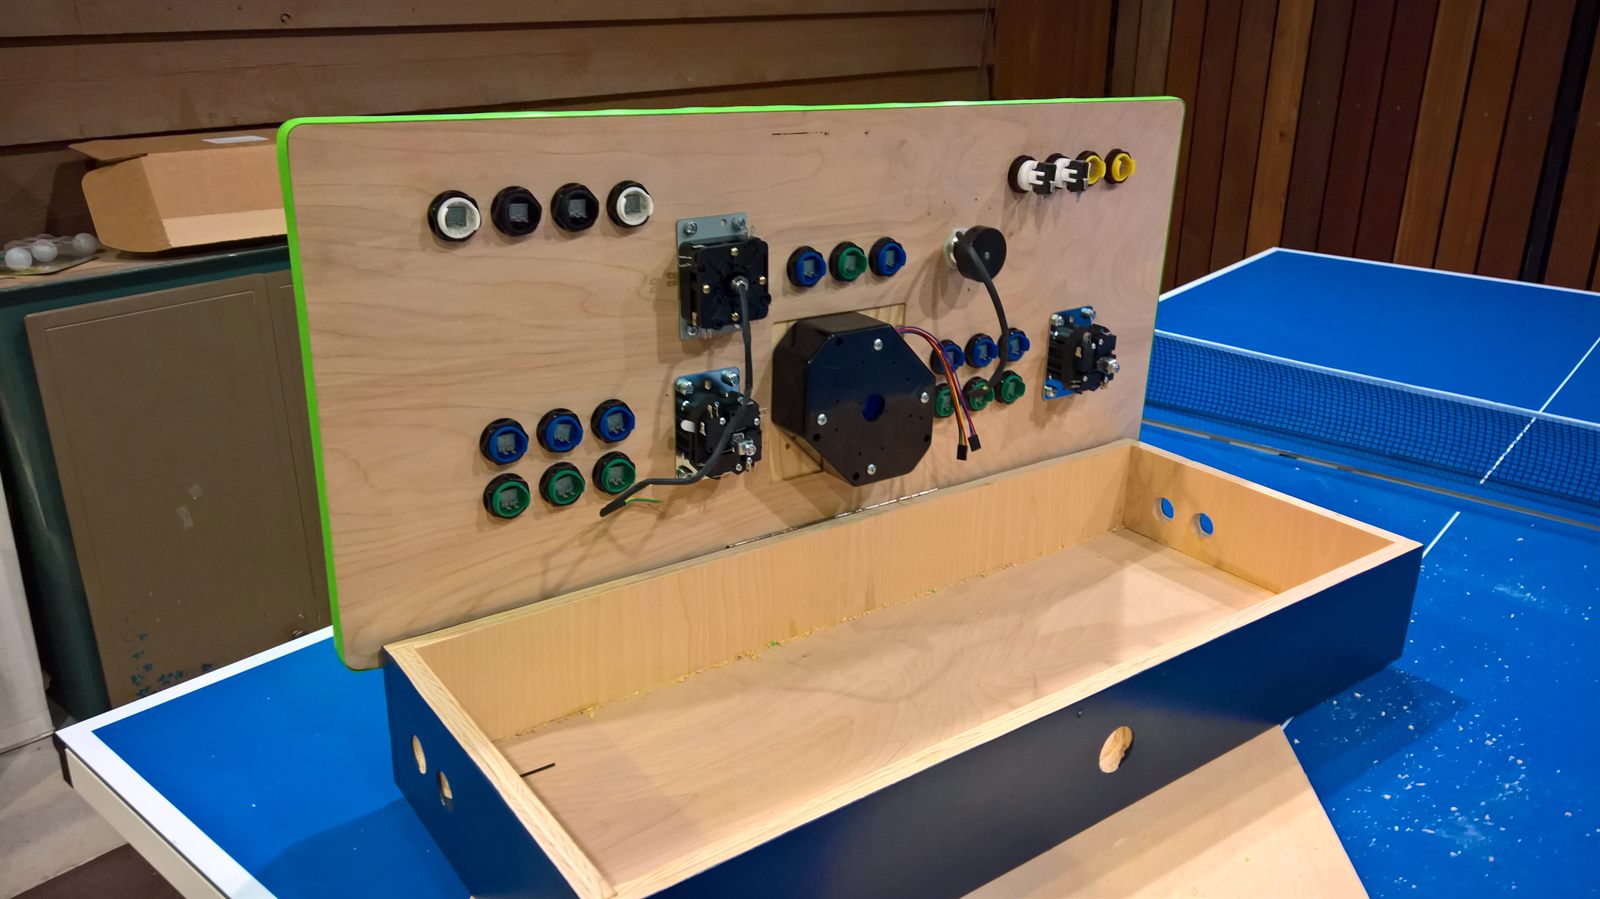
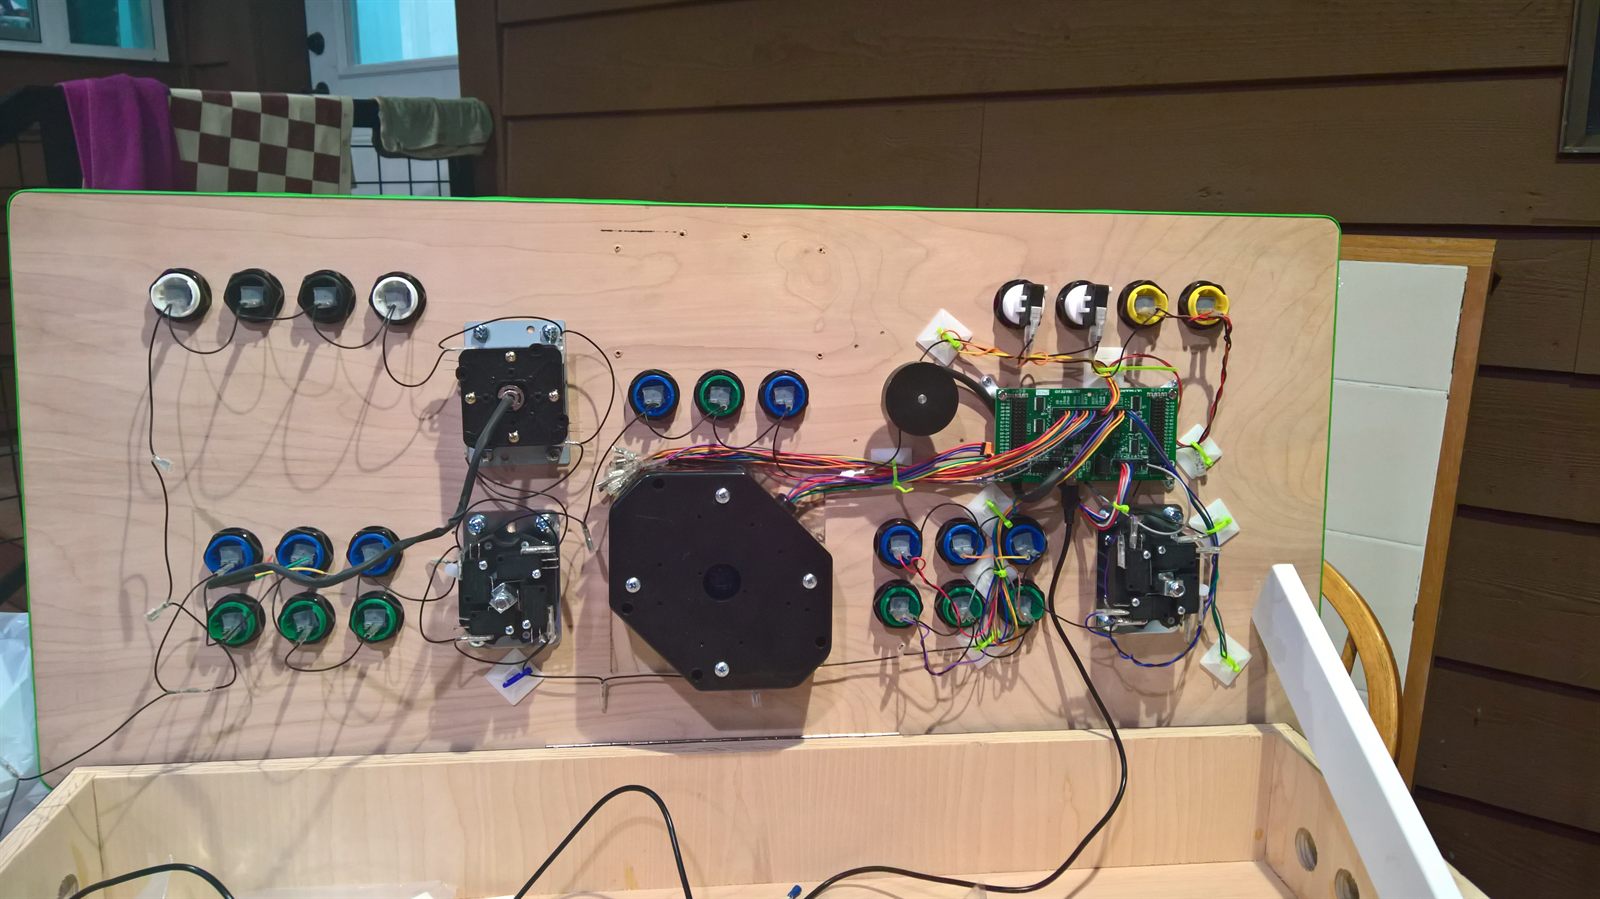
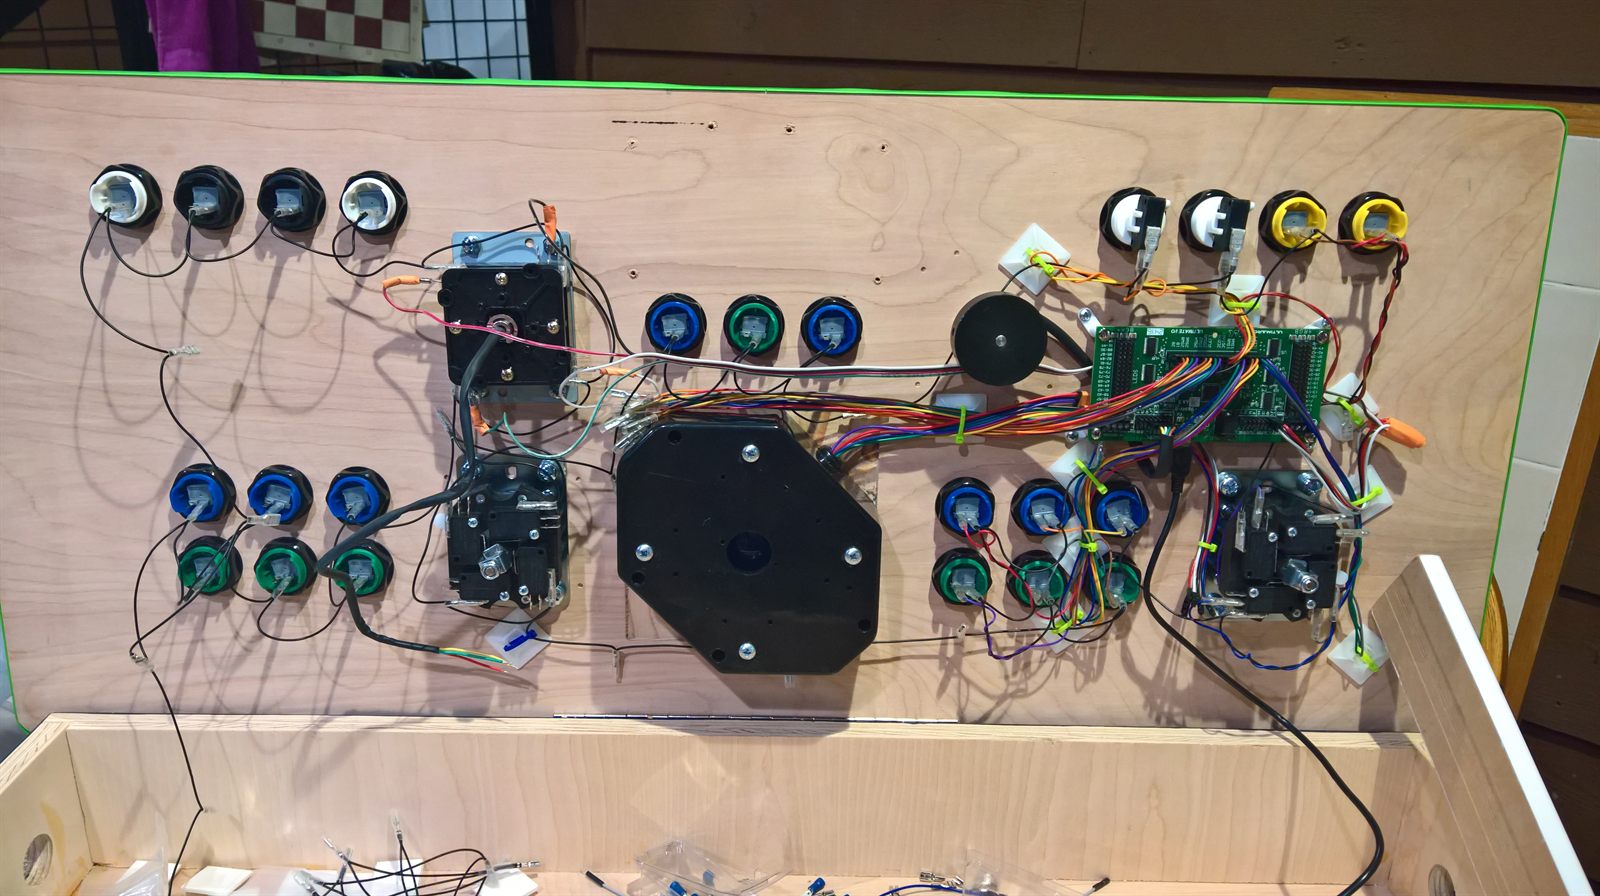
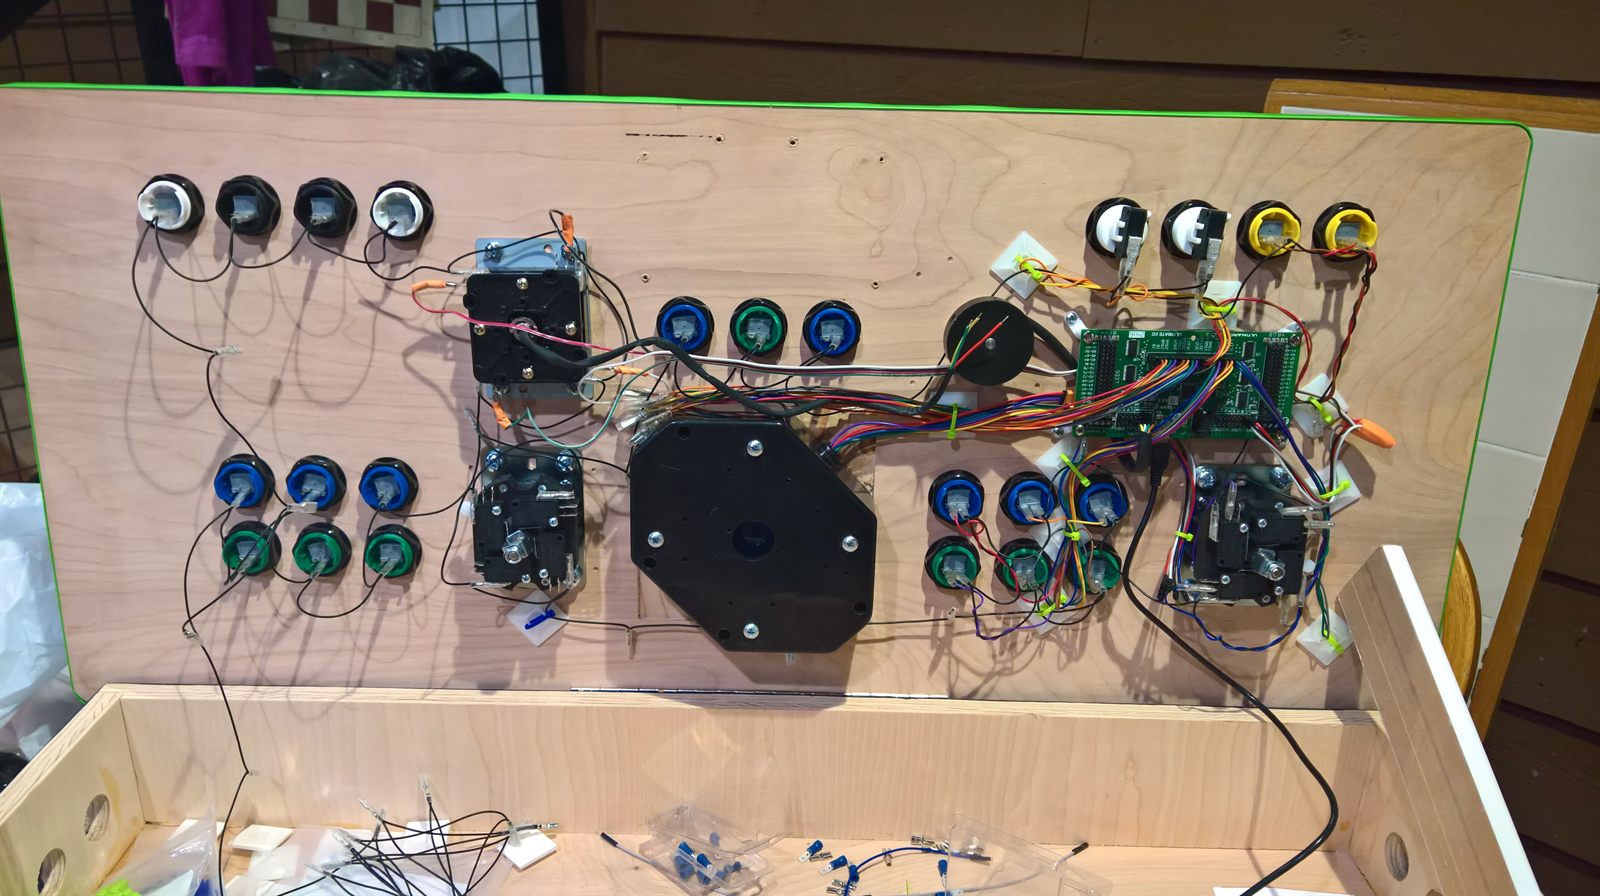
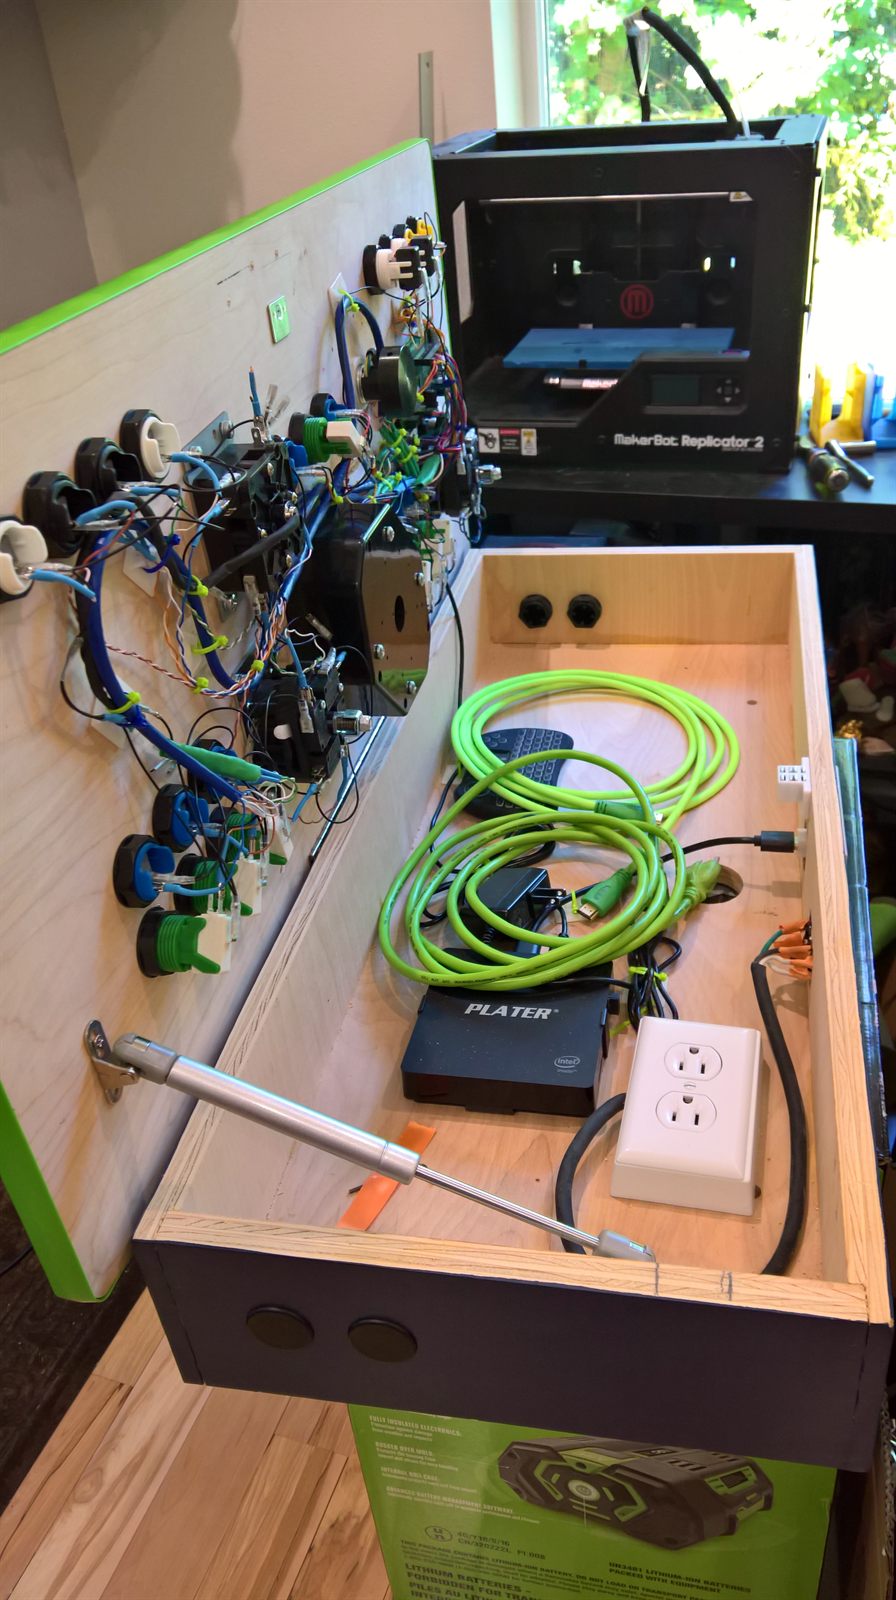
The kit ships as a flat panel and a separate plywood box. The first step was painting the panel navy, masking the diagonal stripes in lime green, and wrapping the edge in matching T-molding. From the underside, the panel is just an array of clean holes waiting for the Ultimarc hardware.
Wiring
Running every input back to the I-PAC
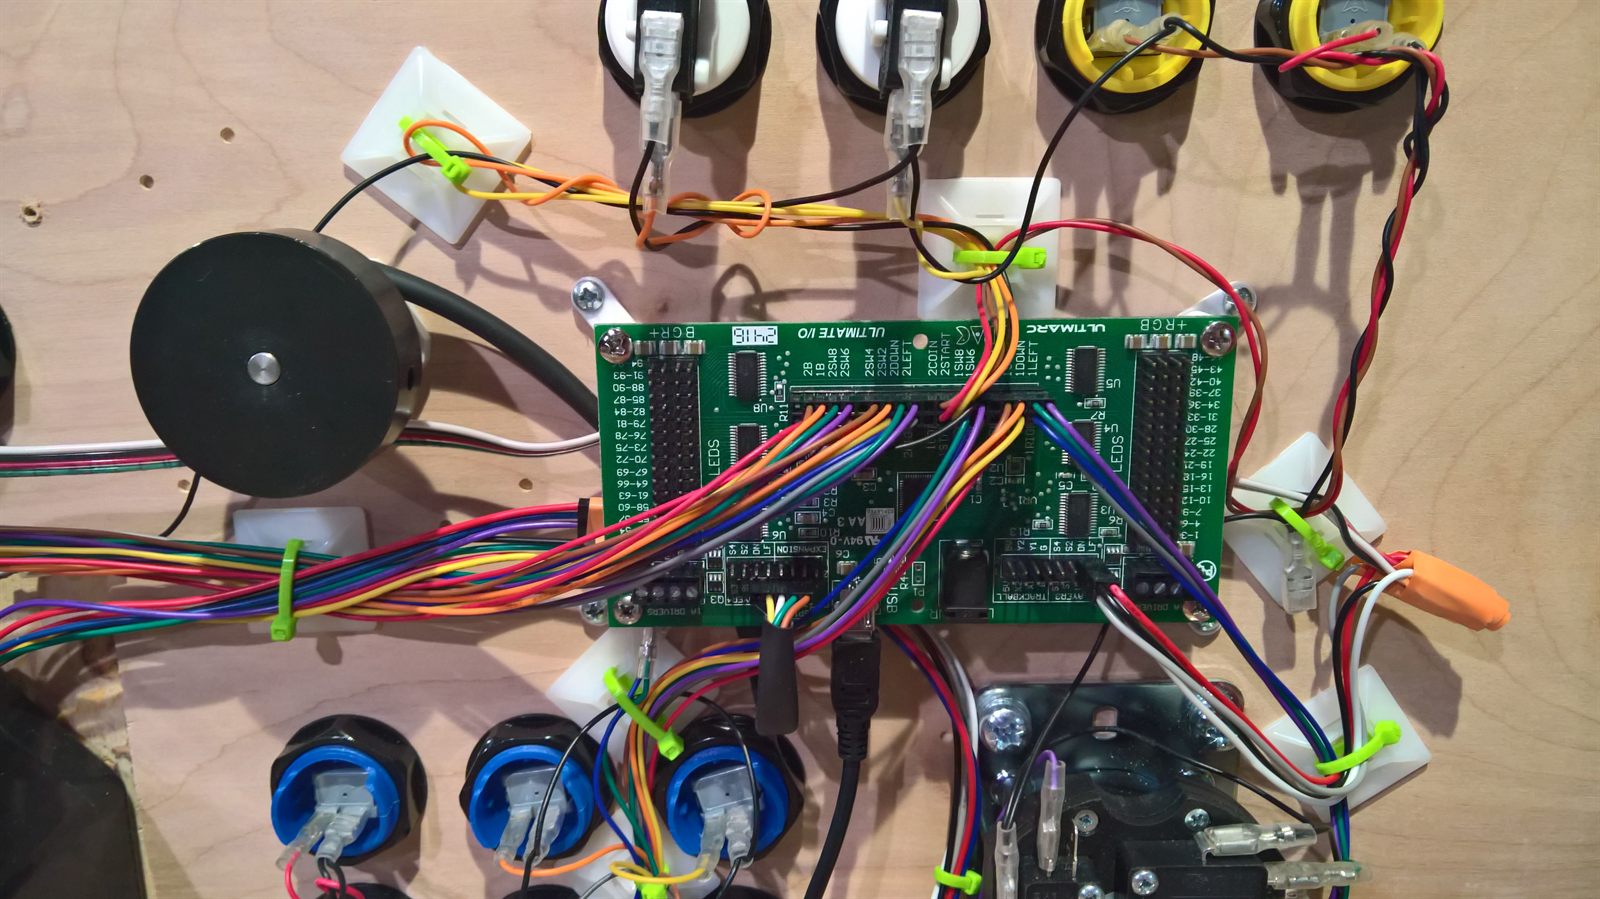
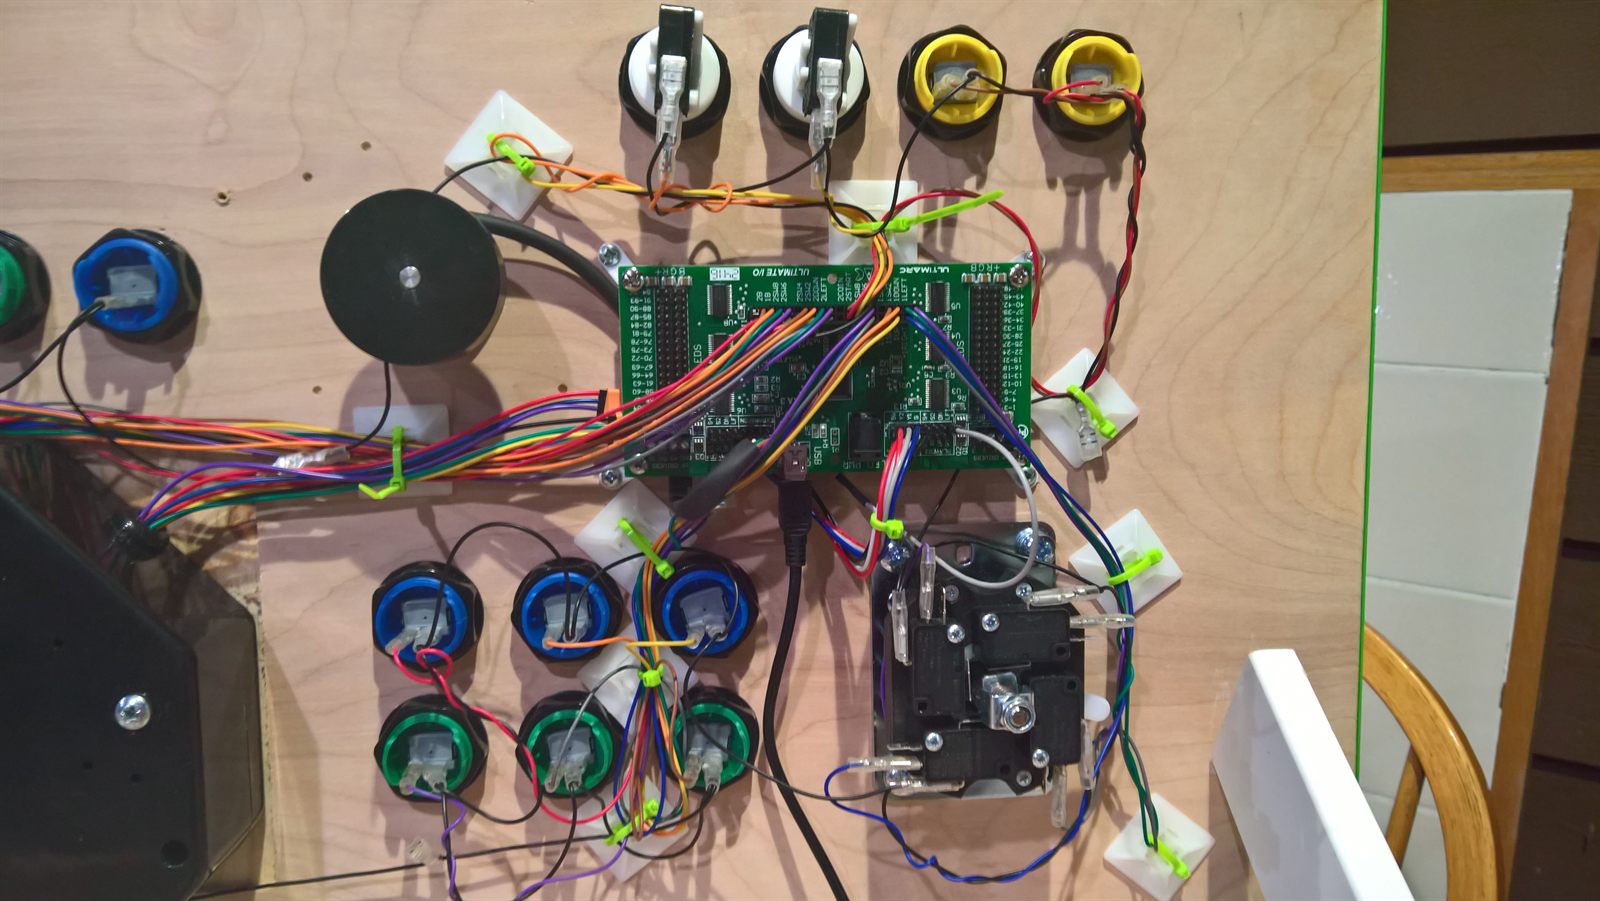
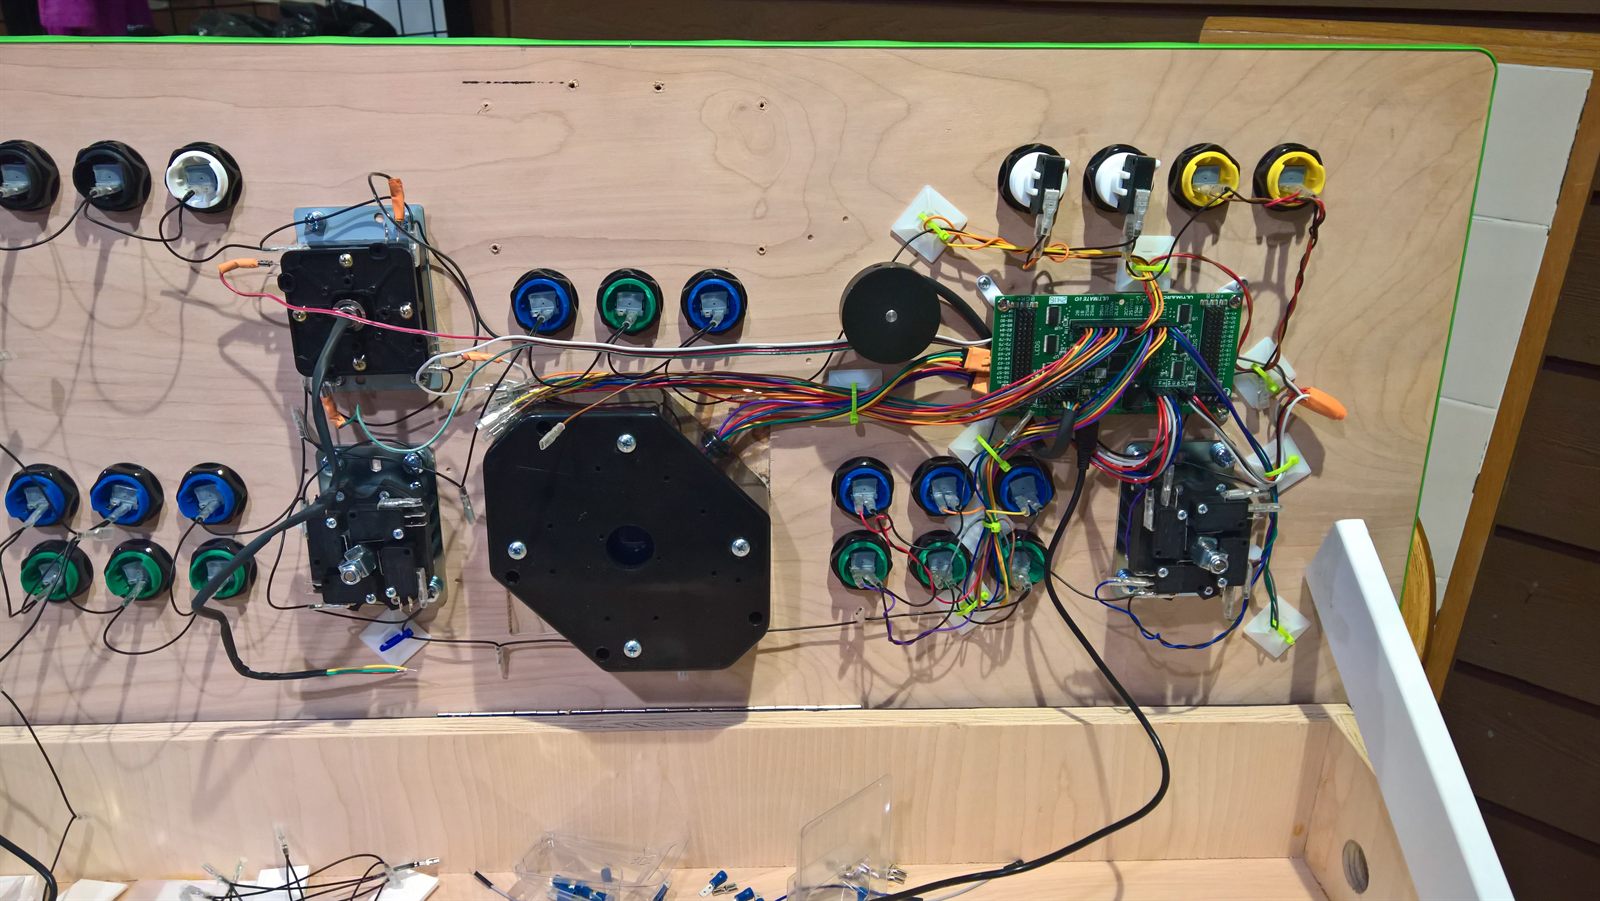
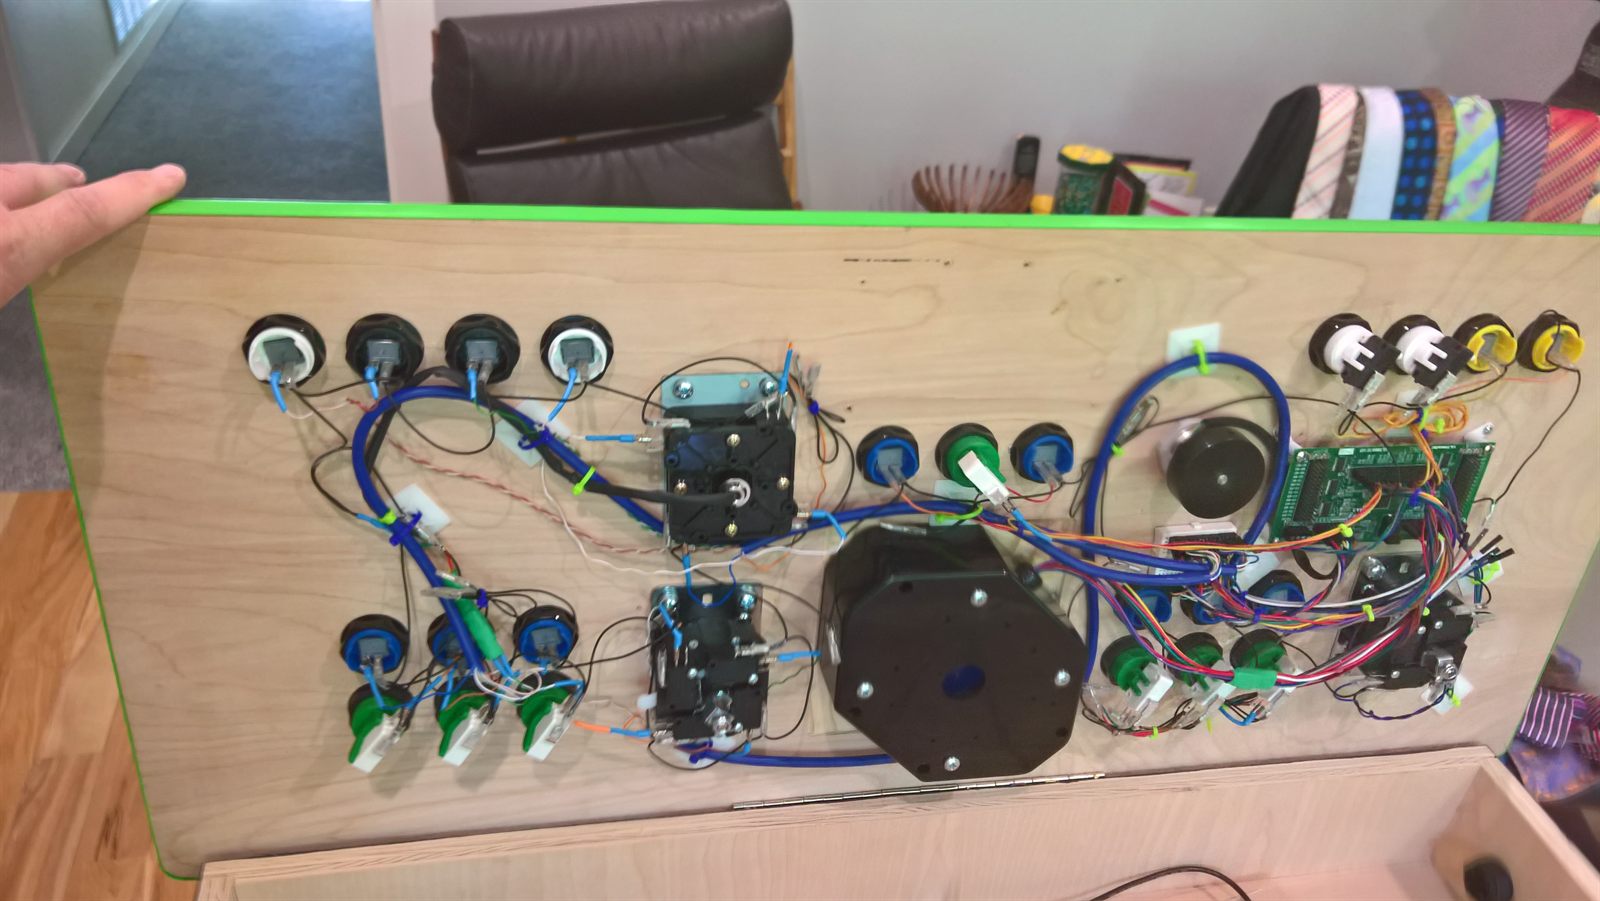
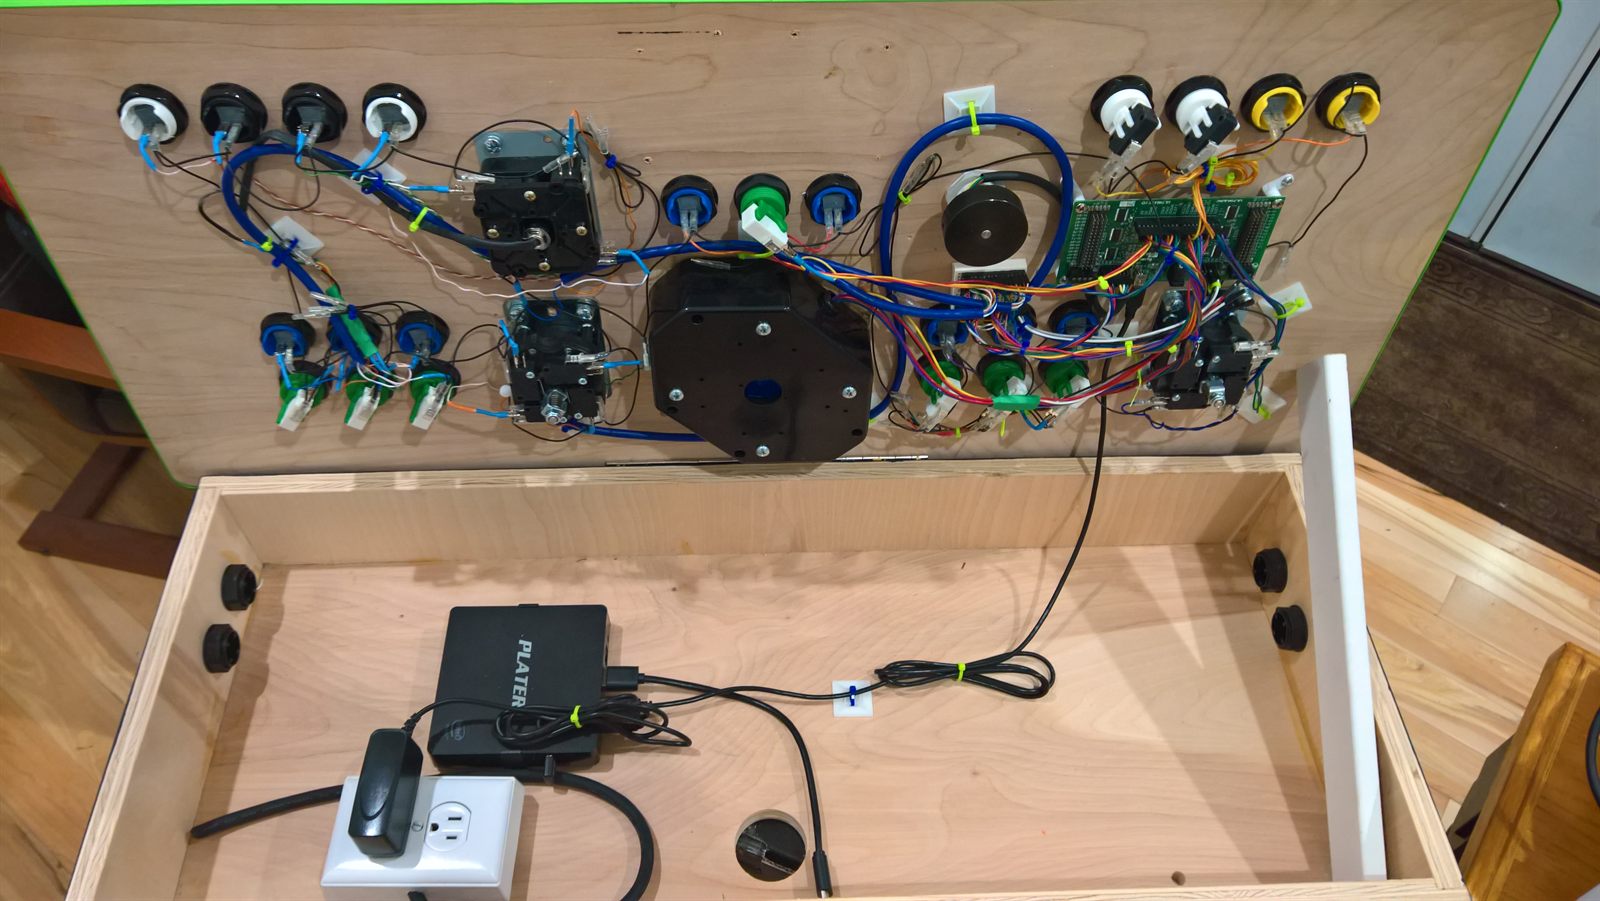
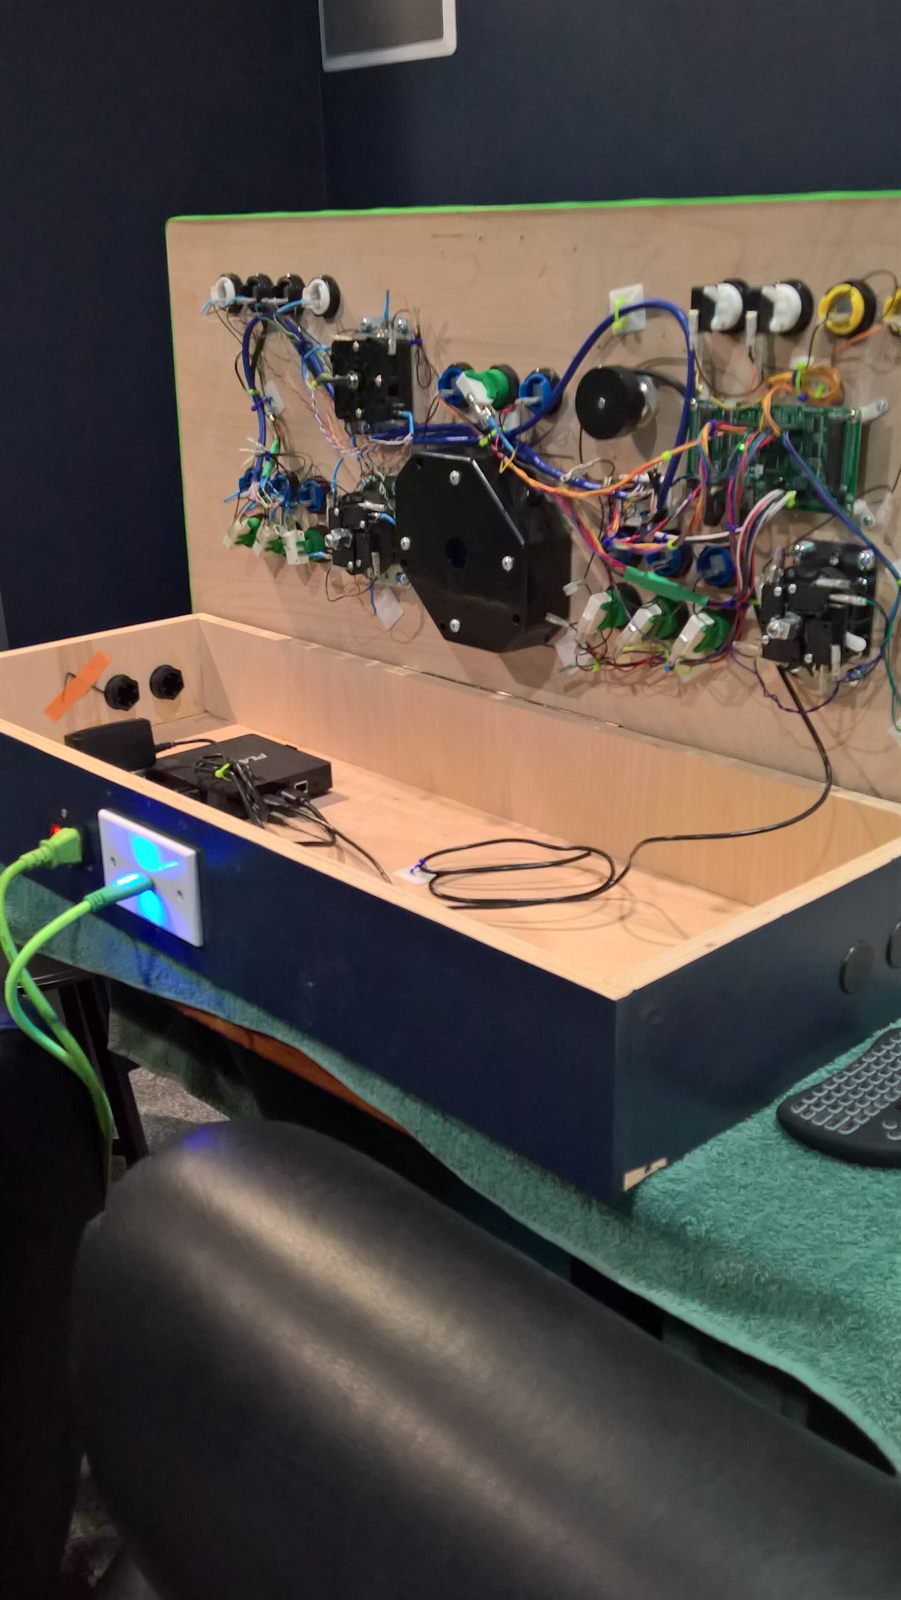
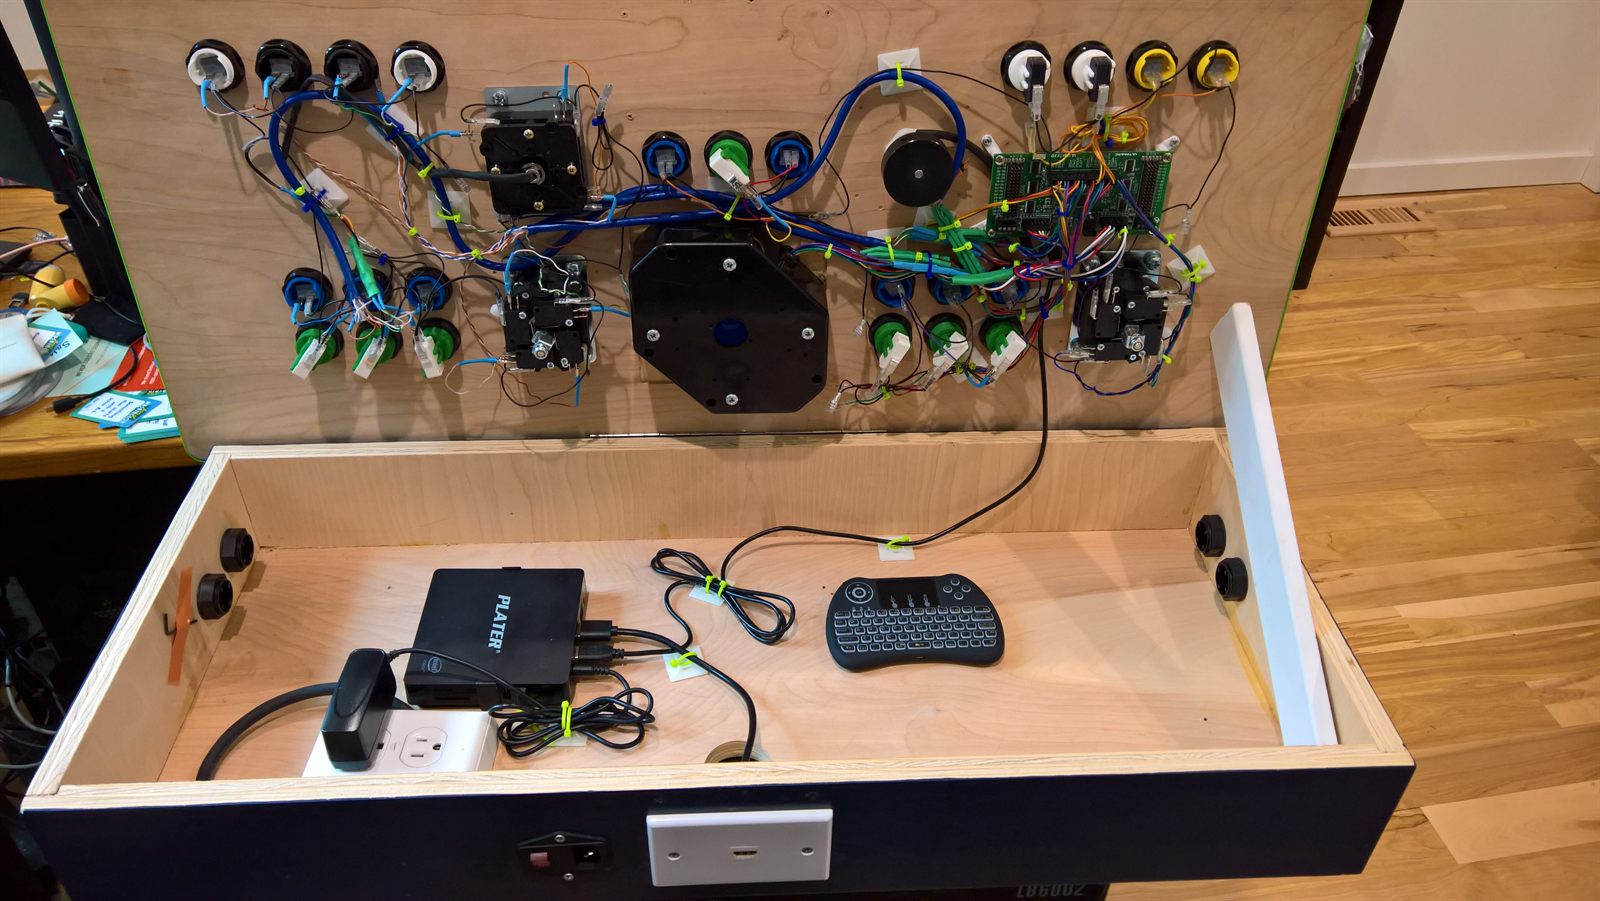
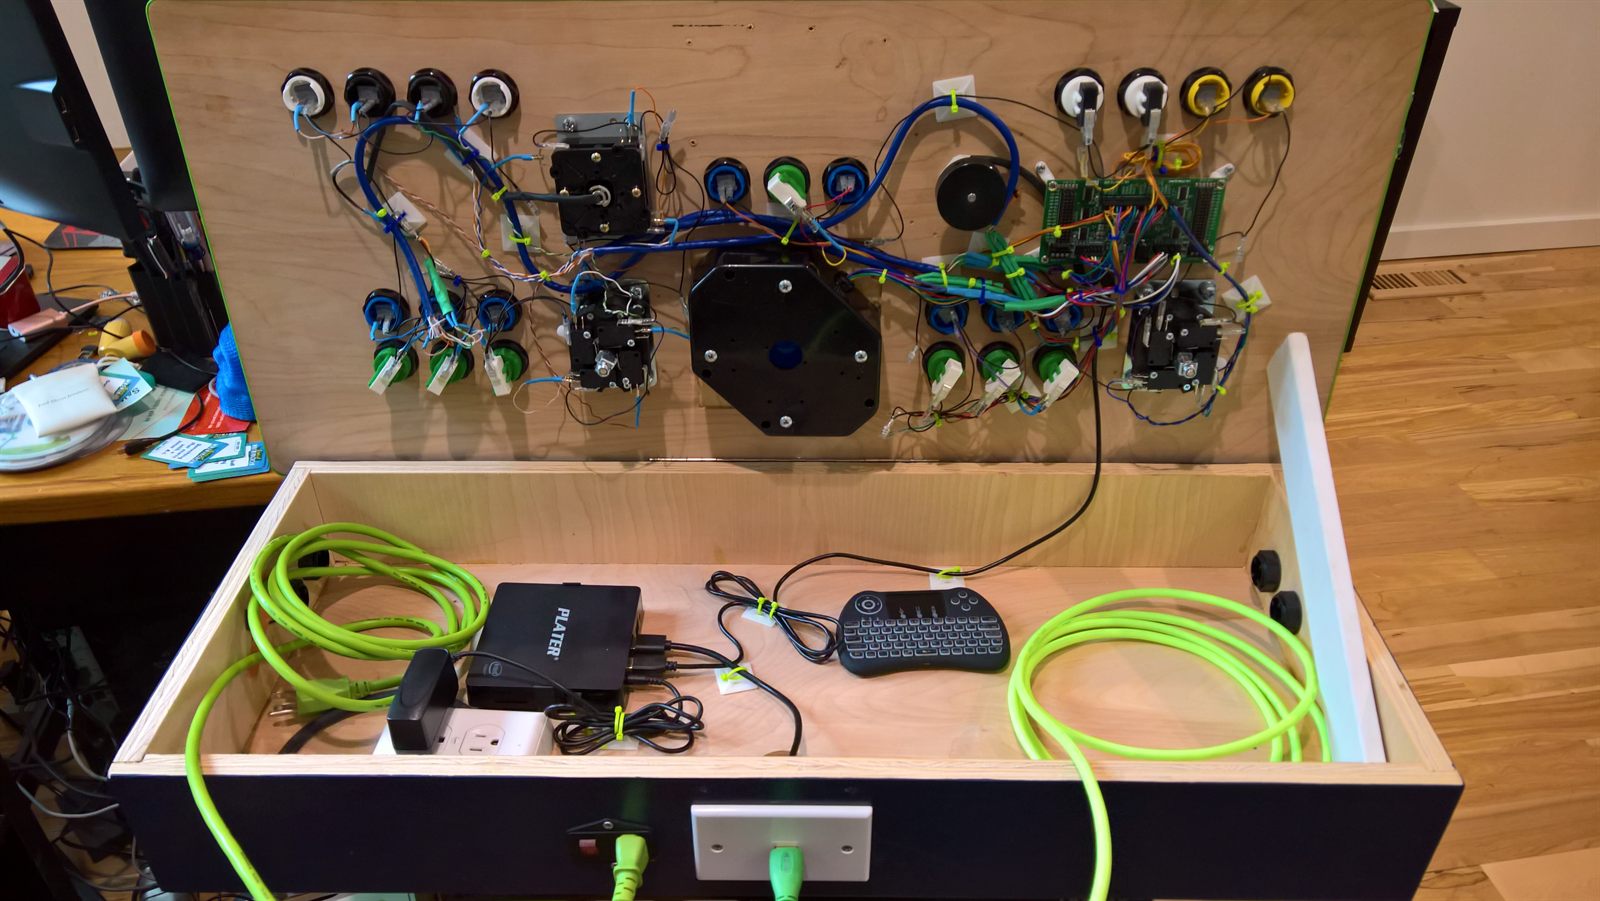
Every button, joystick microswitch, trackball axis, and spinner encoder runs back to the I-PAC Ultimate I/O. The board lets the PC see the panel as a keyboard, two gamepads, a mouse for the trackball, and an analog spinner all at once, with per-input mapping configured in the Ultimarc software.
PC Bay
A small-form-factor PC tucked inside
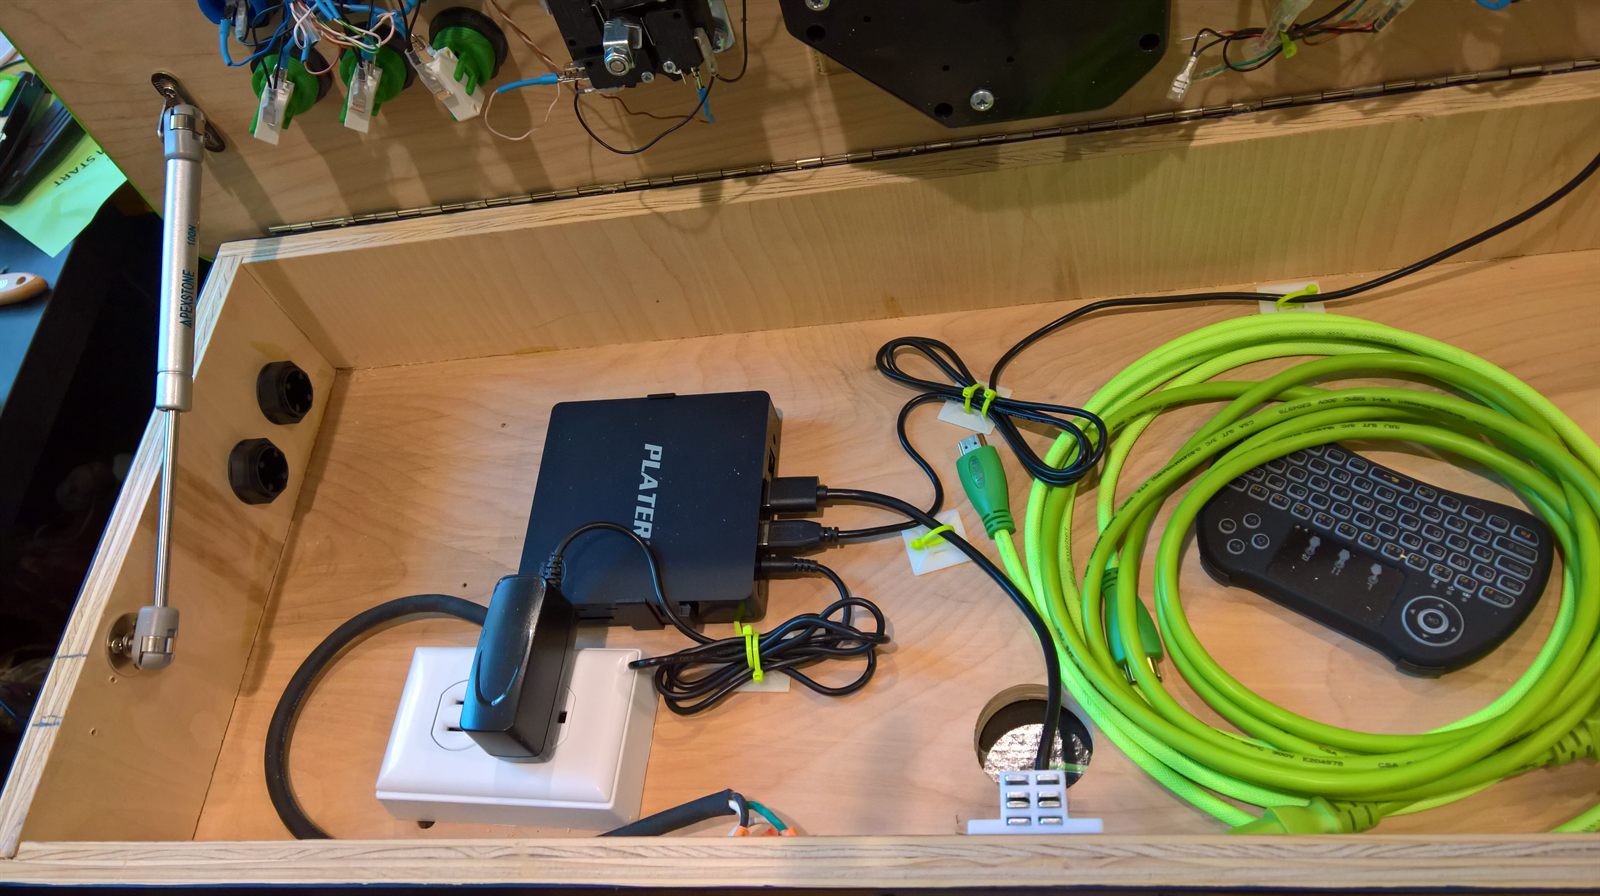
The cabinet base doubles as a tidy enclosure for a small-form-factor PC, its power brick, a wireless keyboard receiver, and a coiled HDMI cable. A back-panel cutout exposes the PC's HDMI, Ethernet, and USB ports, plus a lit rocker switch and a power inlet for a standard PC cord. The PC has been upgraded over time and is currently a PELADN Ryzen 5 5600H mini PC.
Polishing
Final tidy-up and storage
With everything wired and tested, the last pass was cable management, dressing the harness flat against the panel, and finding homes inside the cabinet for the wireless keyboard and HDMI cable so the whole setup is self-contained when stored.
Software Configuration
The three layers that make it play
The cabinet runs three layers of software stacked on top of each other: WinIPAC to program the controller board, MAME to actually run the games, and BigBox on top to pull everything into a controller-friendly front end.

WinIPAC
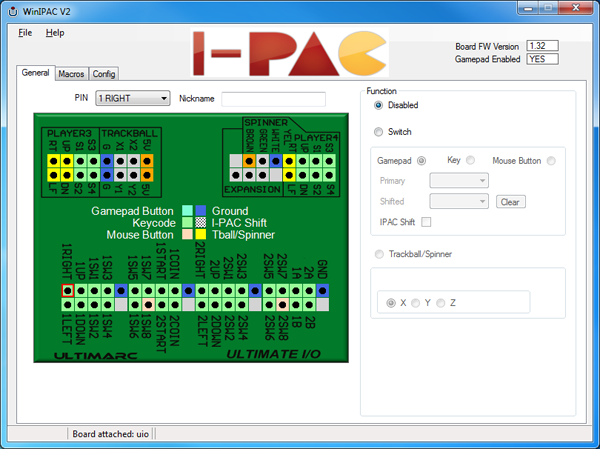
WinIPAC is used to program the I-PAC Ultimate I/O so every button, joystick microswitch, trackball axis, and spinner pulse maps to the correct keyboard or gamepad input. This is a one-time setup — once the mapping is written to the board, the I-PAC remembers it and the PC just sees a normal set of input devices.

MAME
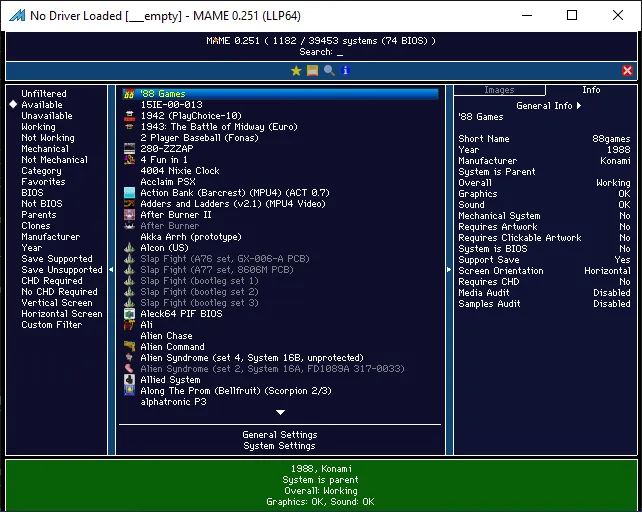
MAME does the actual emulation. Most options — video, audio, default input bindings, and global control mappings — are configured once at the MAME level, and every game inherits those defaults. When a specific title needs different controls, DIP switches, or screen orientation, those tweaks live in a small per-game override file rather than disturbing the global config.
MAME also needs a matching ROM set for every game it plays, and ROM definitions evolve with MAME itself — a set dumped for one version often won't load cleanly on a much newer build. The usual approach is to pin a specific MAME version and pair it with a ROM set from the same era so every romset name and CRC lines up. This cabinet runs against an archived MAME 2015 ROM set.

LaunchBox with BigBox
On top of MAME, LaunchBox with BigBox is the front end. BigBox pulls in cover art, marquees, gameplay videos, and metadata for the collection, presents a controller-friendly navigation, and launches the right MAME command line when a game is picked — so the whole experience from boot to gameplay can be driven entirely from the panel.